Pi Zero-Based Weather Cam
Combine a Raspberry Pi Zero and the new Raspberry Pi Cam 3 to create your own cost-effective, energy-saving webcam.
Cameras are everywhere these days, including in many technical devices. Often networked as IP cameras, they can be found in home intercom or room surveillance systems. Some webcams show you views of faraway places that you might want to visit on vacation. But what if you want to publish live images that provide information about your home location and register your weather camera on public sites?
This is exactly how my project came about: a webcam based on a Raspberry Pi that is just as simple as it is reliable and also consumes little power. The idea was for the device (Figure 1) not to take up too much space so that it can be attached to a window frame behind the pane.
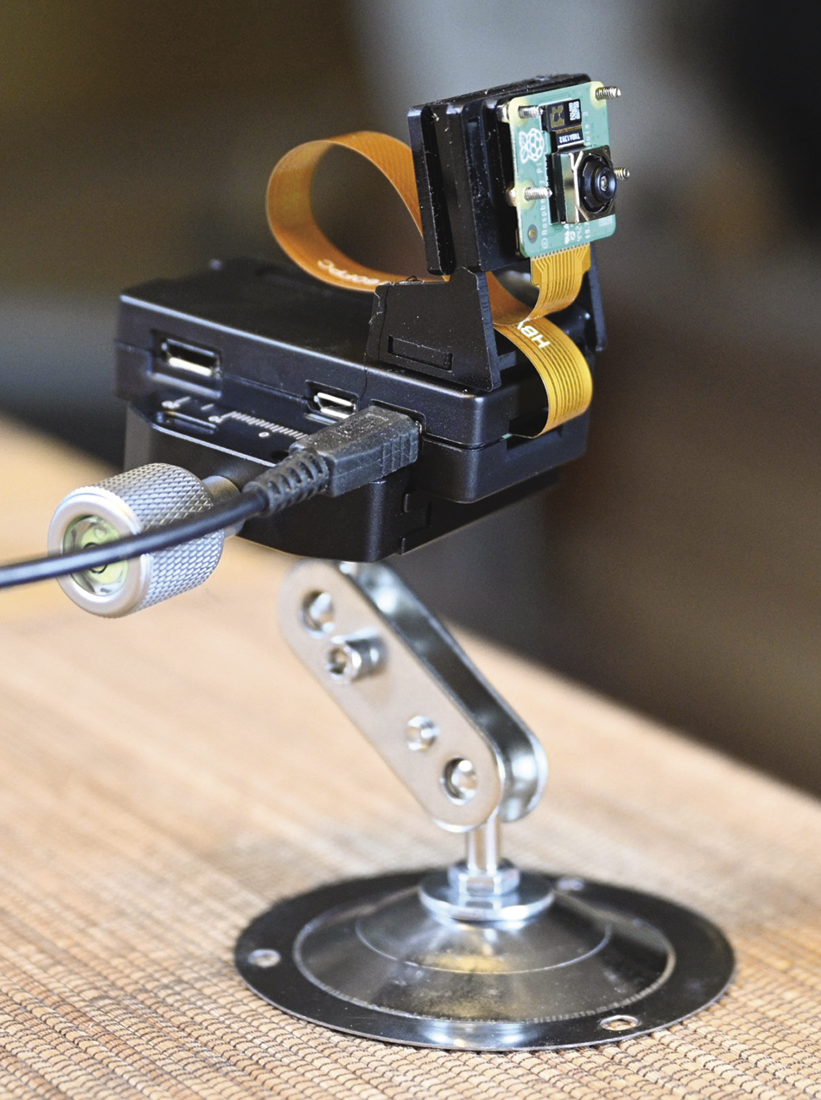
The Raspberry Pi Zero 2W in combination with the new Raspberry Pi Camera Module 3 was just what the doctor ordered. The whole setup is controlled by a Python script. The do-it-yourself cam is within range of the home WLAN and only requires a power supply. The bottom line is that the complete webcam cost just EUR50 (~$54).
I wanted it to grab an image three times a day and devised a power switching solution that only provided the Pi Zero with power at image grabbing time. An active socket from my home automation system takes care of this for me, but a timer for a few euros would also do the job. Once the Pi Zero has started up, it runs the program assigned to it by the control script, which terminates by shutting the Pi Zero down gracefully before the power is switched off again a short time later. Everything from grabbing the image to uploading to your own web space must be completed by then. The current image is then available there.
Getting Started
First download a current Raspberry Pi OS image and transfer it to a microSD card using dd, for example. Boot the Pi Zero from the image, define all the required parameters after the first start and connect it to your home network. At this point, I no longer needed a desktop for my cam (Figure 2), so it made sense to disable the GUI at boot time and enable SSH-based access so that I could handle any tasks later on using a terminal on a different computer.
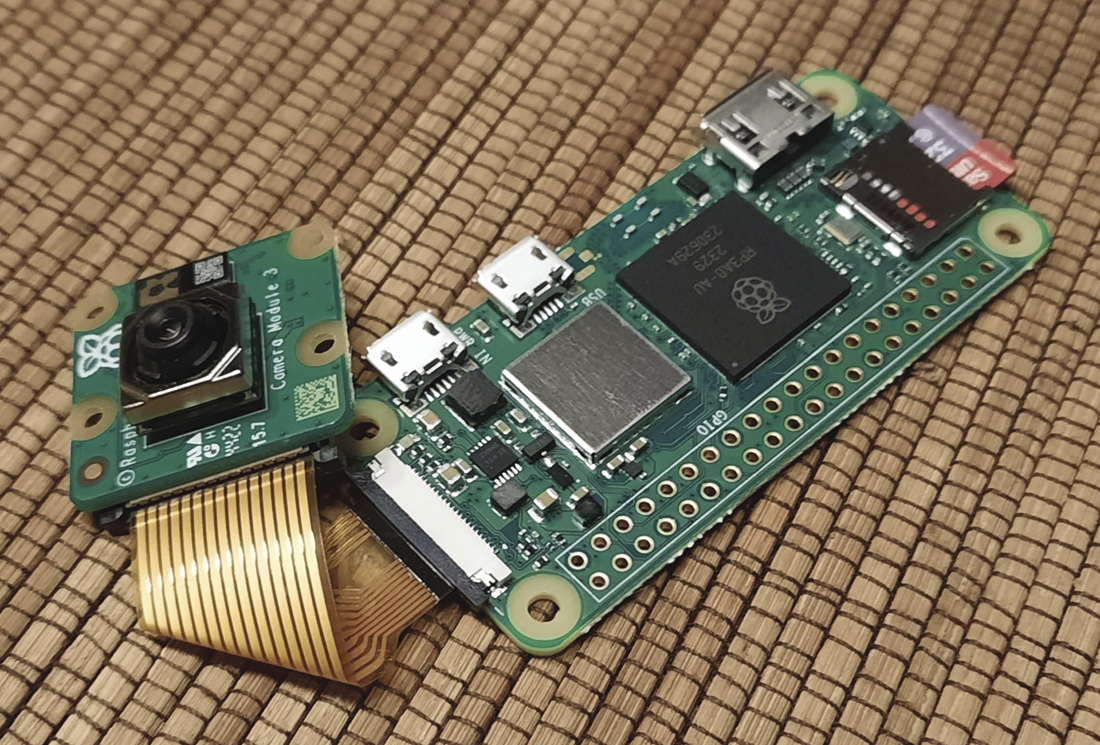
For this project, you need to install the Python Paramiko and PythonMagick libraries to upload the images via SFTP and for image processing with:
sudo apt install python3-paramiko
sudo apt install python3-pythonmagick
The Picamera2 and Libcam libraries are already included in current Raspberry Pi OS images.
Layout
For the camera to work properly outdoors, it would need weather protection. But since I decided to operate the webcam indoors in this project, I didn’t need it. This explains why my design simply has a stable support in the form of a commercially available wall bracket and a housing (Figure 3).
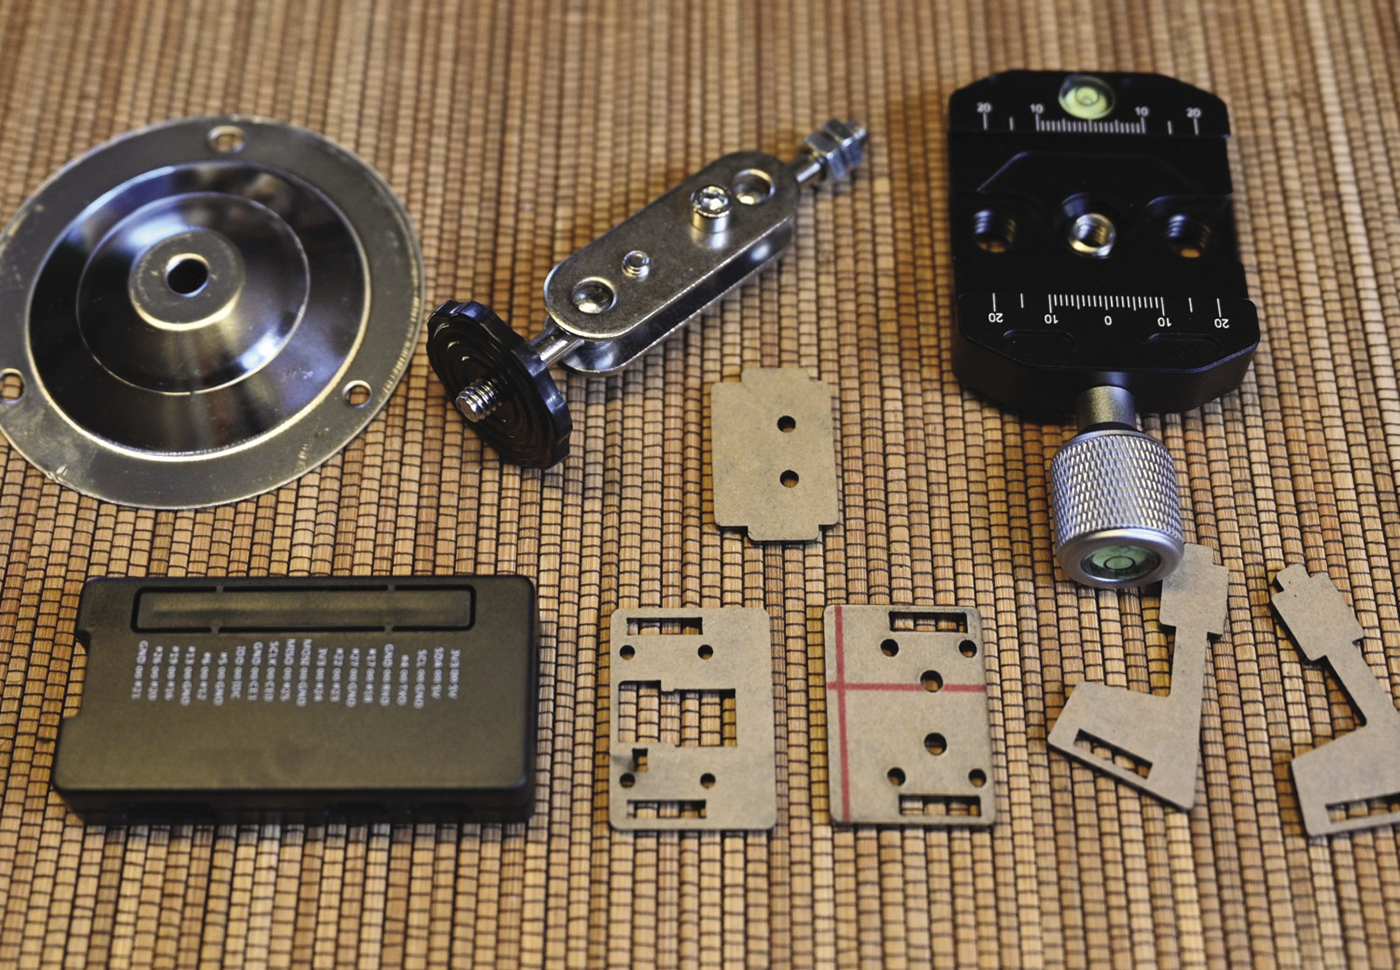
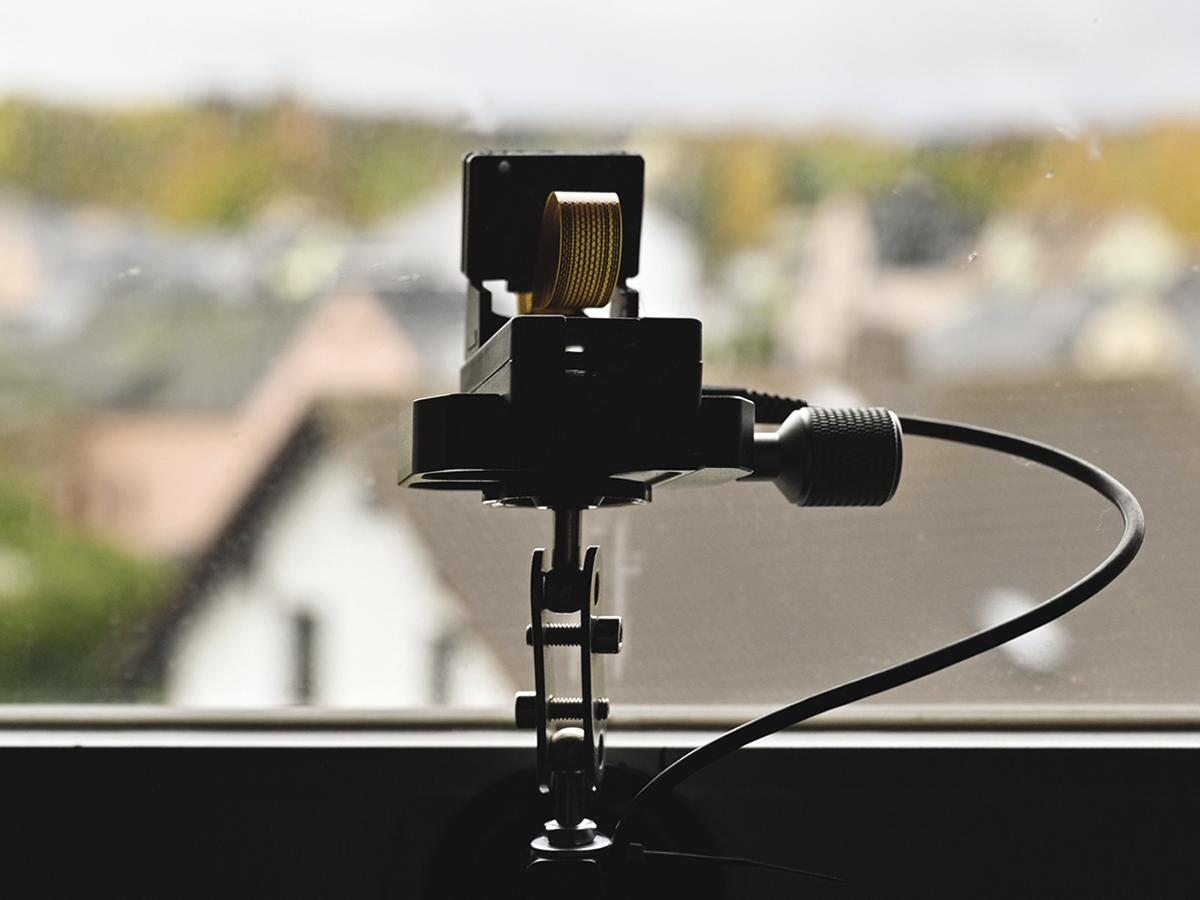
It is important for the design to keep the camera lens as close as possible to the window pane to avoid it automatically focusing on the glass. Images of dirt on the window were not what I wanted. I chose a matte black color for the housing to get rid of reflections (Figure 4).
The pins of the Raspberry Pi’s GPIO rail are exposed; you can attach a status LED here, if so desired. The source code [2] is already set up for this, as well as for a resistor bridge that prevents the camera from shutting down after grabbing an image, if needed. My camera does not need any controls, such as buttons or switches, as I manage it remotely.
Control
After switching on the power supply, the Pi Zero boots. I used an actuator in the home automation system to switch it on. But like I already mentioned, a conventional timer, which you set to the desired intervals (e.g., three times a day), works just as well.
To avoid timing inaccuracy worries, I chose a time window starting 15 minutes before the desired image grabbing time and ending 15 minutes after it. This gives you enough leeway to start the cron job at the right time. You parameterize this by running
sudo crontab -eand adding the lines in Listing 1 to the administrator’s cron table. The cam will then grab an image at 9:00am, 12:30pm, and 4:00pm. (This assumes that you’ve placed the script file in /home/pi/scripts/.)
Listing 1: Cron jobs
0   9  * * *   /usr/bin/python /home/pi/scripts/swcam.py
30 12  * * *   /usr/bin/python /home/pi/scripts/swcam.py
0  16  * * *   /usr/bin/python /home/pi/scripts/swcam.py
After booting, the Pi Zero runs the swcam.py control script and shuts down again gracefully before the power is shut off. The Python script does everything necessary for each image grab. It takes a photo in the resolution defined up front, crops it, and superimposes the text and date. PythonMagick takes care of the image processing steps. The script then renames the image file and uploads it to the web server via SFTP, using the Paramiko library. Finally, the script shuts down the Pi Zero. While it’s working, the script will blink the status LED several times, so you can follow its progress. For public viewing and for use on various weather websites, I decided to give the latest image a static name and transfer a copy with a timestamp in the file name to an annual archive.
On your home router, you can also define the network name of the camera – ipcam2 in my case – and link it to a static IP address. If you keep the default user pi, calling ssh pi@ipcam2 is all it takes to connect to the camera via SSH. You can then start the webcam manually using python scripts/swcam.py, and you can customize the script in terms of image dimensions, upload paths, and much more.
You will find instructions for the project on GitHub, along with the latest version of the software. The current image from the weather cam is available for viewing on my web server [3].
Conclusions
Version 3 of the Raspberry Pi camera module gives you much better image quality than older models. With higher resolution and autofocus, the module is a must-have in projects with close-ups, but it’s also hugely beneficial for my webcam which takes landscape images (Figure 5).

The Raspberry Pi Zero 2W is fast enough for camera operation and can run the latest Raspberry Pi OS. Its meager 512MB of RAM could prove to be a drawback, though. Older versions of the operating system may have compatibility problems with the Pi Cam 3 – Libcam might not recognize it, and errors could prevent image grabbing. But if you’re using the latest Pi Zero and OS version, you will be fine.

